Popcorn ceilings might’ve been the trendiest thing since bell-bottoms, but let’s face it—they’ve overstayed their welcome. If your home still sports that bumpy texture, it’s time for a makeover that’ll have your ceilings looking sleek and modern. Scraping popcorn ceiling isn’t just a DIY project; it’s a chance to reclaim your space from the clutches of outdated design.
Imagine transforming your home from a retro time capsule into a stylish sanctuary. Armed with the right tools and a bit of elbow grease, anyone can tackle this project. Plus, who doesn’t love the satisfaction of peeling away years of neglect? Get ready to roll up those sleeves and say goodbye to the popcorn nightmare, because a fresh ceiling is just a scrape away.
Understanding Popcorn Ceilings
Popcorn ceilings, also known as acoustic ceilings, gained popularity in the mid-20th century. They served as an inexpensive way to hide imperfections in drywall and reduce noise. These textured surfaces typically feature a bumpy, cottage cheese-like appearance, which many consider outdated today.
Often applied during construction, popcorn ceilings contain a mixture of materials. They commonly consist of Styrofoam, plaster, and paint, contributing to their unique texture. While the aesthetic appeal diminished over the years, removing them can significantly enhance the look of any room.
Many homeowners wonder about the safety of popcorn ceilings. Some contain asbestos, a hazardous material used before the 1980s. Asbestos poses health risks when disturbed, so it’s essential to test for it before beginning any removal project. If the ceiling contains asbestos, hiring a professional for safe removal is necessary.
Understanding the removal process helps ensure a successful outcome. Preparation involves gathering the right tools, including scrapers, drop cloths, and safety gear. Additionally, turning off power to the area and covering floors can prevent damage and facilitate cleanup.
Homeowners appreciate the transformation that comes with scraping popcorn ceilings. Removing this outdated texture paves the way for new paint, smooth finishes, or alternative ceiling designs. Embracing this change can create a more appealing living space, reflecting modern trends and individual style.
Tools and Materials Needed
Homeowners should gather specific tools and materials before starting the popcorn ceiling removal process. Proper preparation enhances efficiency and ensures safety.
Essential Tools
A step ladder provides stable access to high ceilings. A wide putty knife effectively scrapes the textured surface. A drywall sponge maintains cleanliness by removing debris. A spray bottle filled with water softens the ceiling texture for easier removal. Plastic sheeting protects floors and furniture from dust and mess. A vacuum cleaner with a hose attachment helps in clearing debris post-scraping.
Safety Equipment
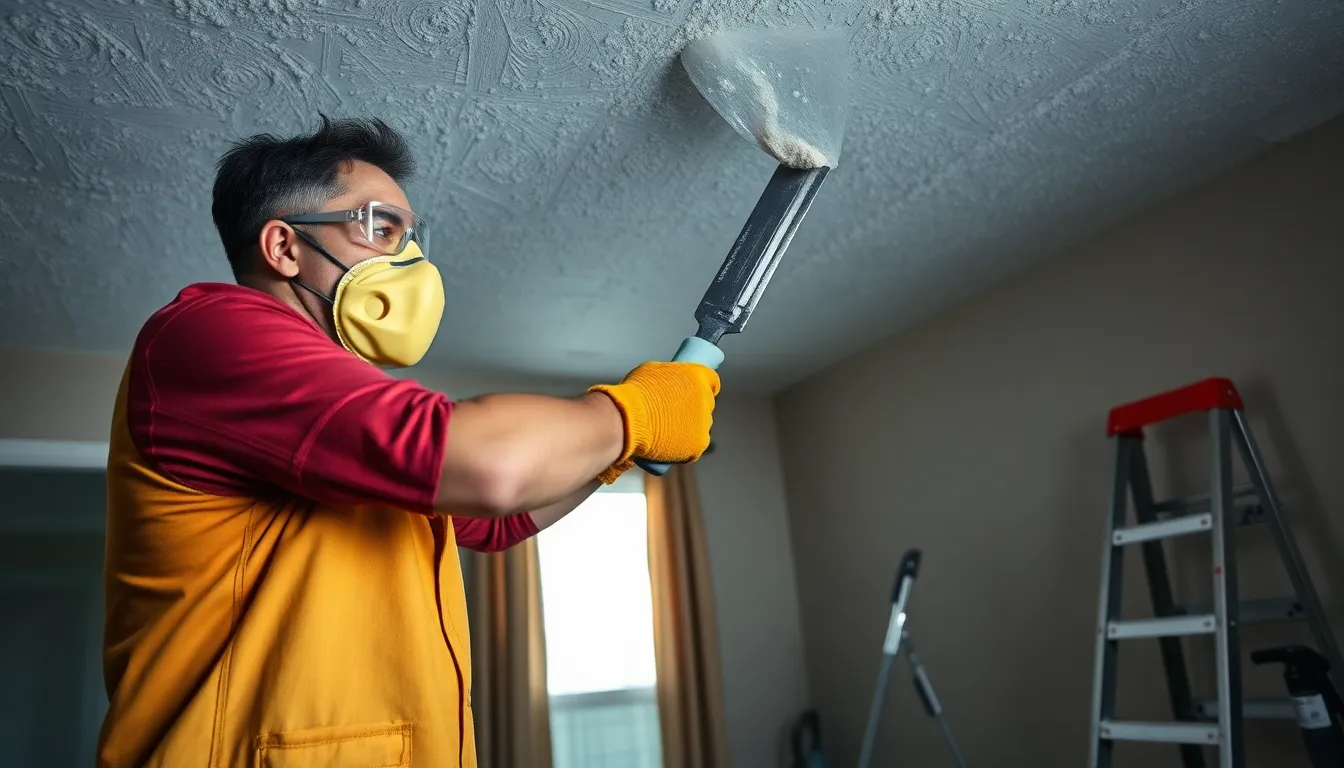
Safety goggles protect eyes from falling debris during the scraping process. A dust mask minimizes inhalation of dust and potential asbestos particles. Earplugs help reduce noise if using power tools. Heavy-duty gloves prevent skin irritation from texture residue. An asbestos test kit offers peace of mind before starting work on older ceilings. Using a hard hat may provide additional protection from any falling materials.
Preparing the Room
Preparing the room for popcorn ceiling removal is crucial for a successful project. This phase involves careful planning and organization to ensure safety and efficiency.
Clearing the Area
Start by removing furniture from the room. This helps prevent damage and makes movement easier. If furniture cannot be moved, cover it with plastic sheeting for protection. Clear any decorations, wall art, and window treatments to create a clean workspace. Ensure that the floor is free of items and clutter, as this maintains a safe environment during the scraping process. Providing ample space allows for efficient tool usage and minimizes accidents.
Protecting Surfaces
Cover the floors with drop cloths or plastic sheeting. This prevents debris and materials from damaging the flooring. Use painter’s tape to secure edges and ensure coverage remains in place. Protect walls by applying plastic sheeting along the edges to prevent moisture damage. Seal electrical outlets and switches with tape to avoid dust infiltration. Proper surface protection reduces cleanup time after the project, making for a smoother finishing process. Prioritizing these steps enhances safety and efficiency during popcorn ceiling removal.
Step-by-Step Guide on How to Scrape Popcorn Ceiling
Scraping popcorn ceiling involves a few essential steps. These procedures ensure efficiency and improve results.
Moistening the Ceiling
Moistening the ceiling is vital for easy removal. Using a spray bottle filled with warm water, lightly mist sections of the ceiling before scraping. Allow the water to penetrate for a few minutes. This technique softens the texture, reducing the effort needed. Focus on small areas for better control. Avoid soaking the ceiling, as excessive moisture can damage drywall.
Scraping Techniques
Employing the right scraping techniques enhances success. Start at one corner, positioning a wide putty knife at a slight angle. Use firm, steady pressure to lift the texture off the surface. Scrape in a smooth, sweeping motion to maximize efficiency. Change directions as necessary to avoid damaging the drywall beneath. Frequently check for consistency in removal to maintain uniformity across the surface.
Cleaning Up After Scraping
Cleaning the area properly ensures a neat finish. Begin by vacuuming the floor to remove debris that fell during scraping. Use a shop vacuum for efficient suction. Next, carefully dispose of any gathered popcorn texture in heavy-duty trash bags. Wipe down surfaces with a damp drywall sponge to collect dust particles. Check for any remaining imperfections on the ceiling, as a smooth surface is crucial for painting or refinishing.
Tips and Tricks for Successful Removal
Preparation plays a crucial role in successful popcorn ceiling removal. Use a step ladder to reach higher areas safely. Wear safety goggles and a dust mask to minimize exposure to airborne particles.
Timing matters when scraping the texture. Let the water sit for a few minutes after spraying to ensure it penetrates effectively. Test a small area first to gauge how easily the texture comes off.
Technique impacts the outcome significantly. Hold the wide putty knife at a 30-degree angle for better leverage. Apply consistent, firm pressure while lifting the texture away from the surface.
Cleaning with care promotes a tidy workspace. Vacuum frequently during the scraping process to minimize dust accumulation. Dispose of debris in heavy-duty trash bags to prevent mess outside the project area.
Post-removal steps enhance the overall finish. Allow the ceiling to dry completely before priming or painting. Inspect for any remaining texture and address these spots promptly for a seamless look.
Staying organized streamlines the project. Arrange tools and materials close to the work area. Keep track of any supplies used to avoid unnecessary trips during the process.
Utilizing these tips will ensure efficient, effective popcorn ceiling removal. Each step contributes to a satisfactory transformation, encouraging a modern aesthetic throughout your living space.
Removing a popcorn ceiling can breathe new life into a home. With careful planning and the right tools anyone can transform their space into a modern haven. The satisfaction of seeing a clean ceiling free from outdated textures is rewarding.
Safety should always come first so taking the time to test for asbestos and use proper protective gear is essential. Following the outlined steps ensures the process goes smoothly and efficiently.
Ultimately this DIY project not only enhances aesthetics but also allows homeowners to take charge of their living environment. By embracing this change they can create a stylish and inviting atmosphere that reflects their personal taste.